Setup the Remotsy device
1.- Power on the Remotsy using any micro USB power supply. 1 Amp of output or more is recommended.
2.- Wait for the led to blink in green, this indicates that Remotsy is in setup mode.
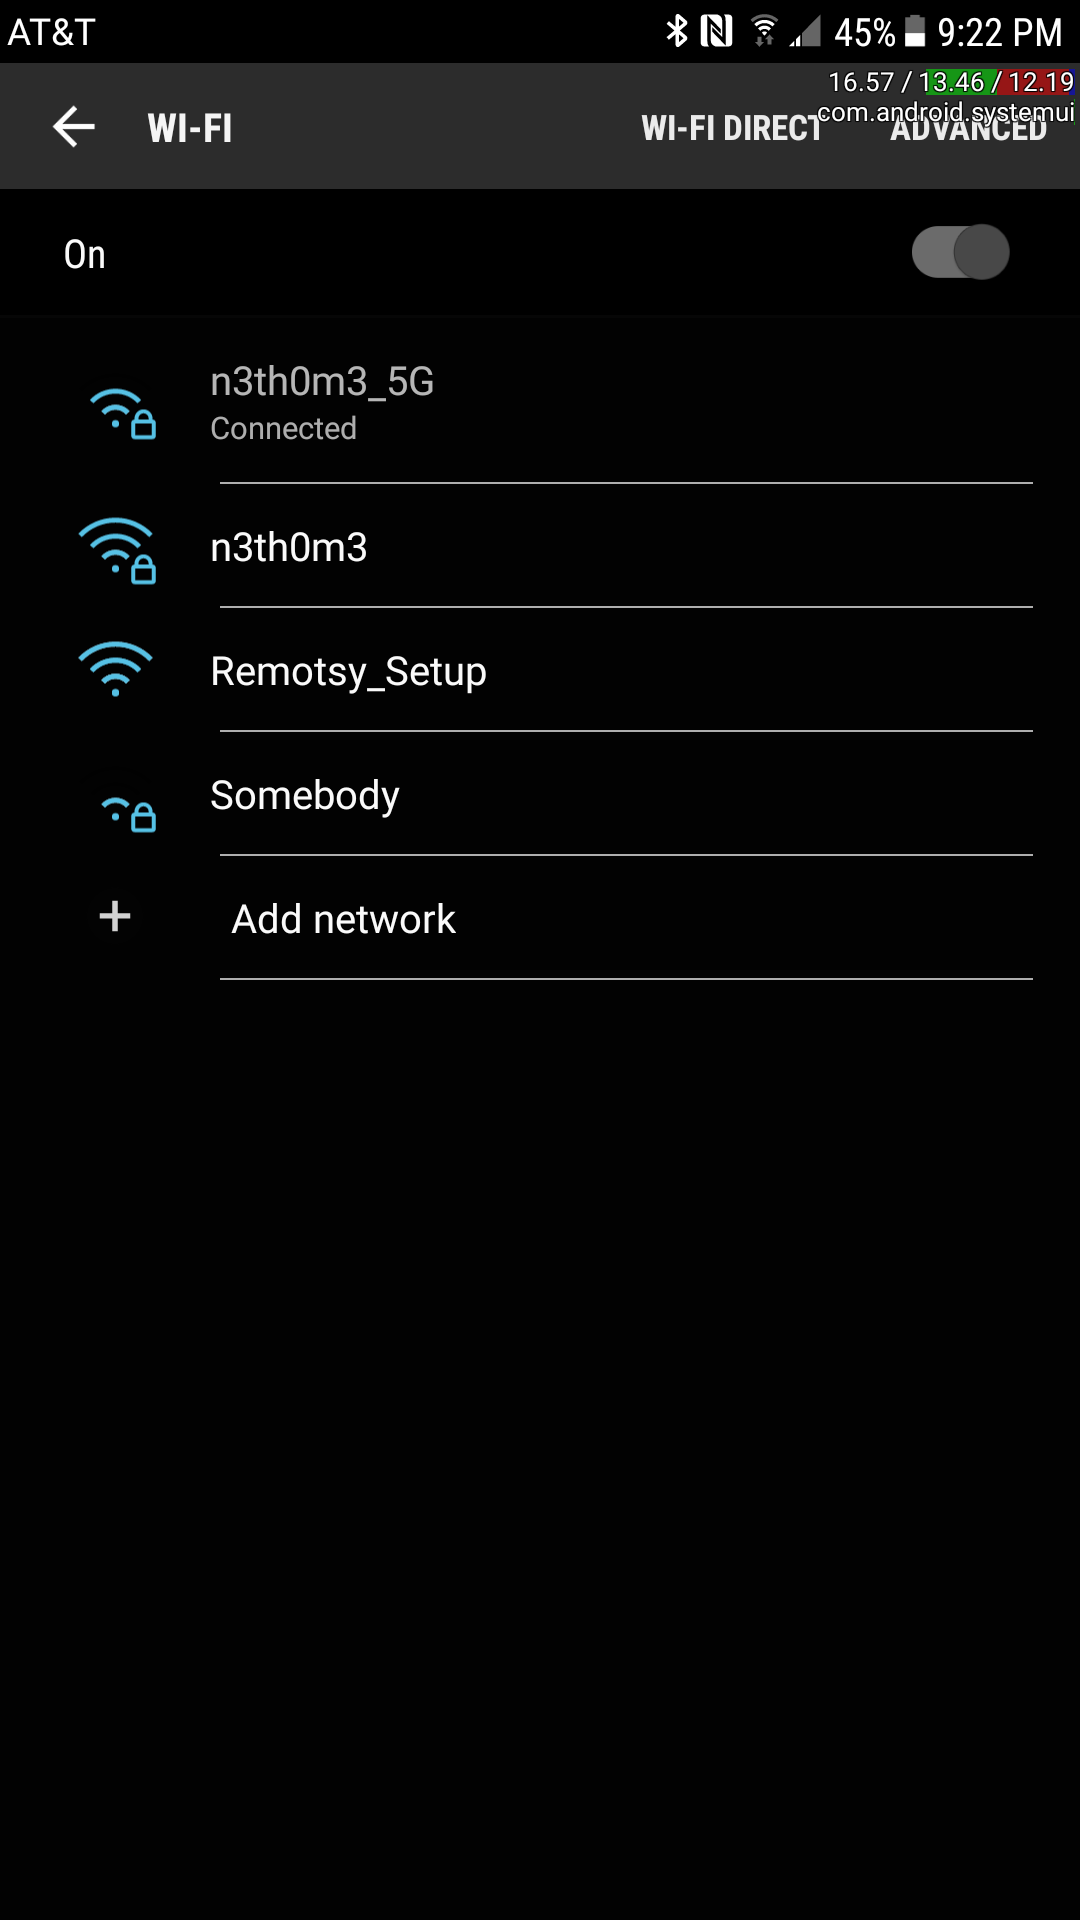
3.- From your smartphone, tablet or PC, search for the Wi-Fi network Remosty_Setup, for example, in this case, we are using an Android phone.
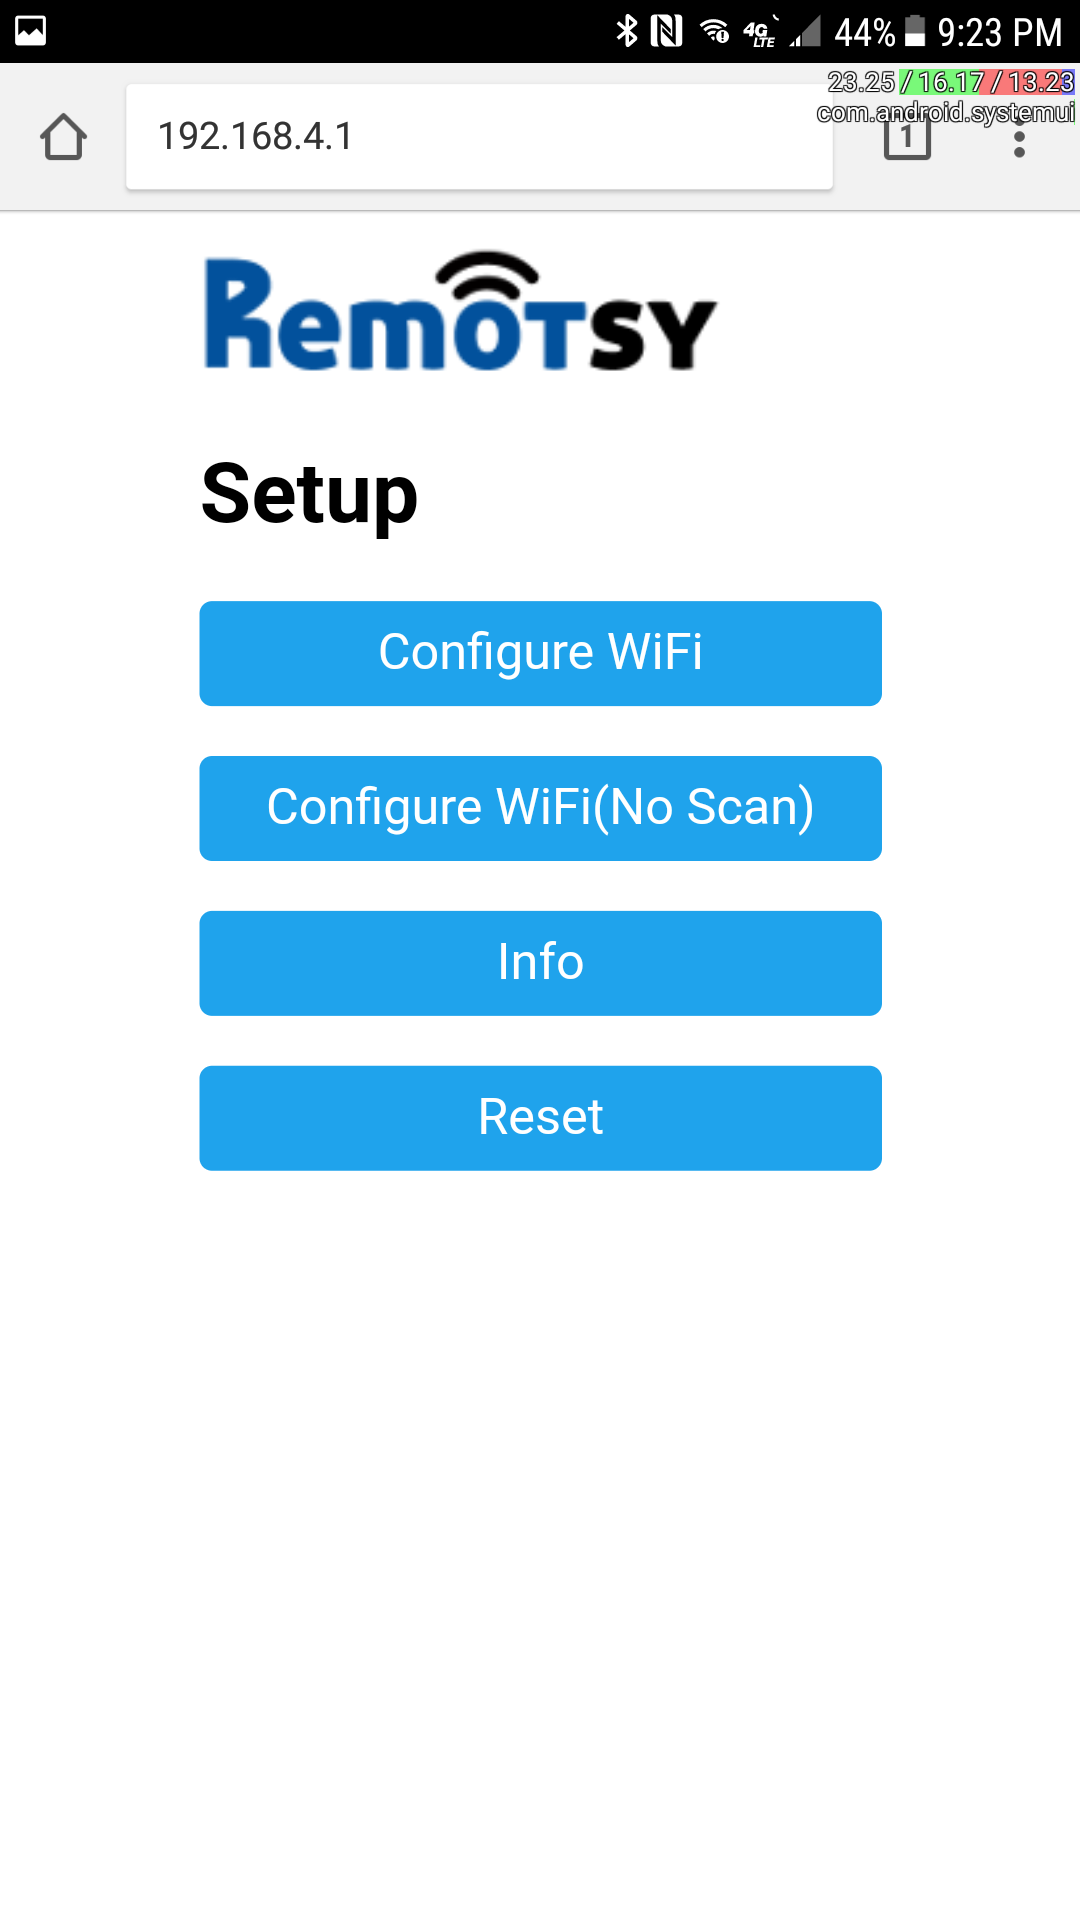
4.- When the smartphone, tablet or PC is connected to the Wi-Fi network, open your Internet browser, the browser will redirect you automatically to the setup page.
Note: In some cases, the redirect won't work, if that's the case, please go to the URL http://192.168.4.1
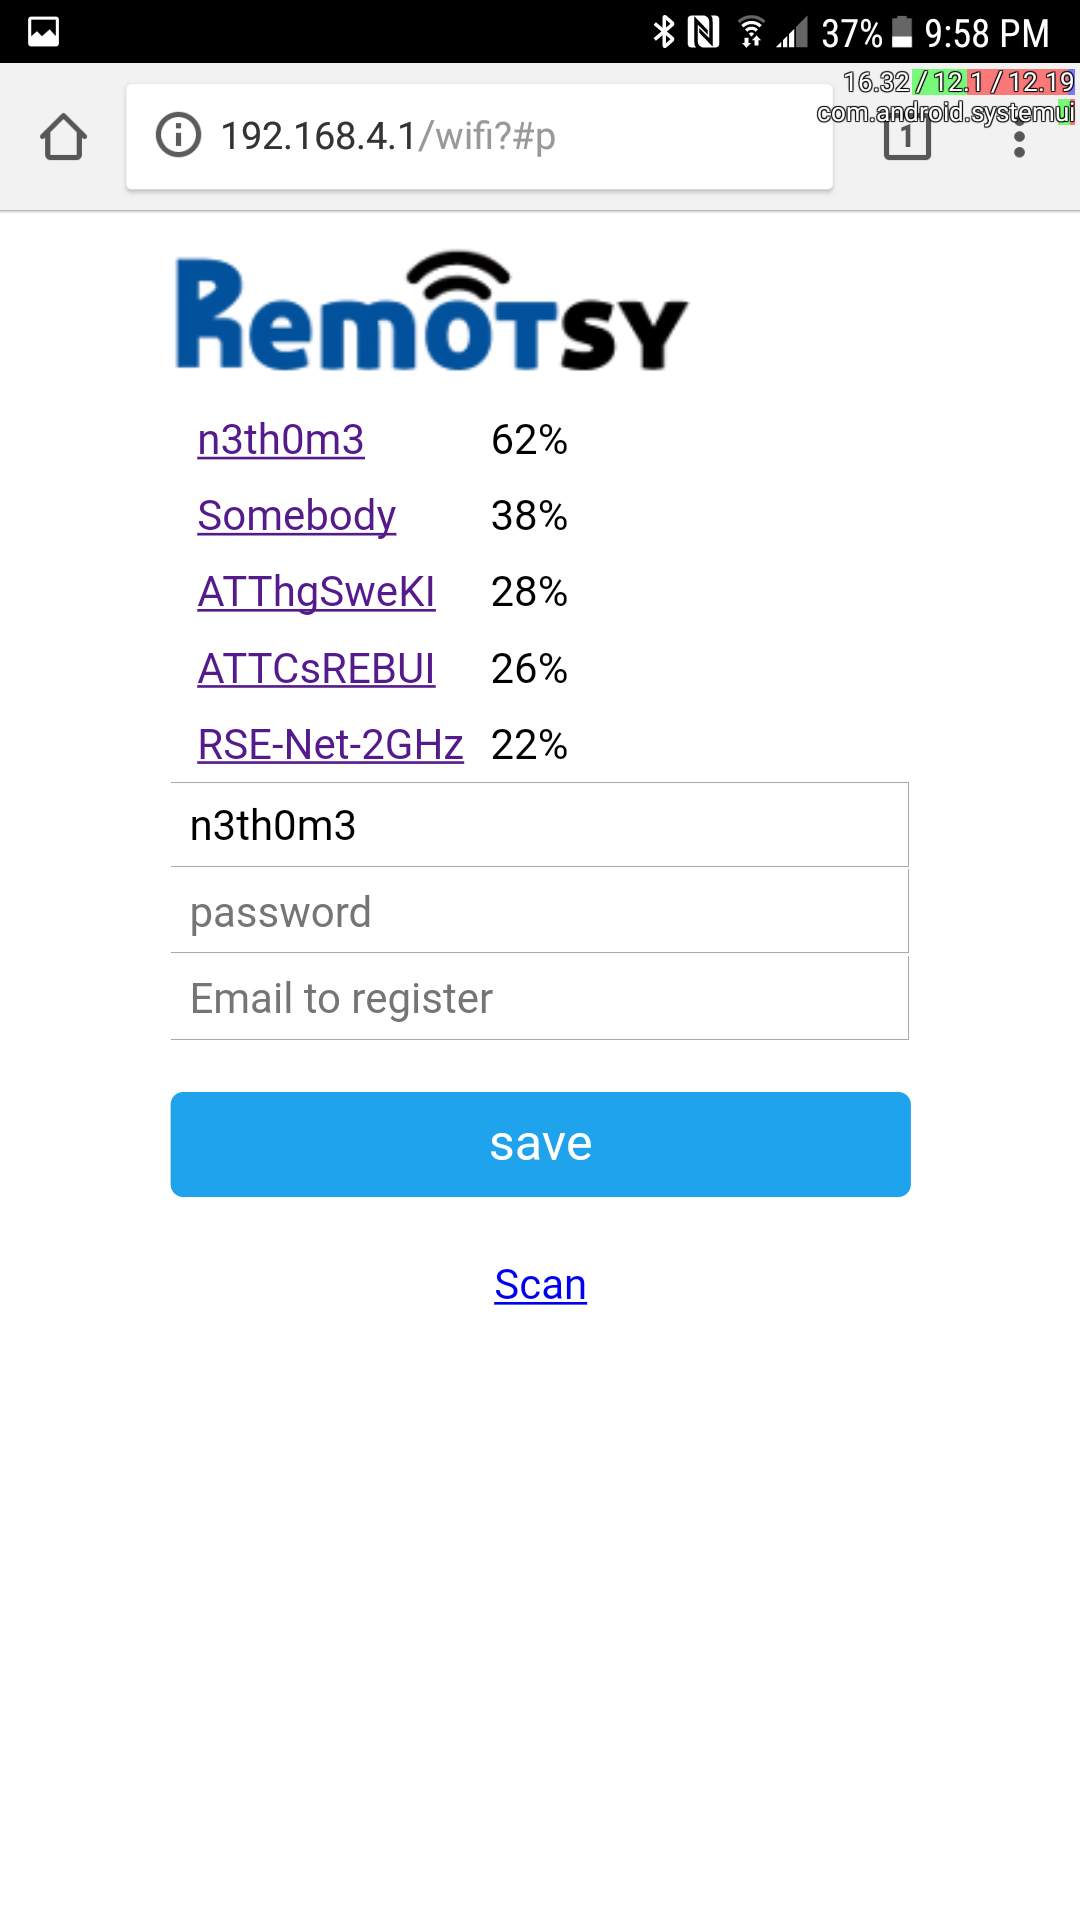
5.- Use the first option to scan the area and get a list of all available Wi-Fi networks, then select your home Wi-Fi network and set your password. Write the email that you want to use to register this device in the cloud. Note: For the email field, it is important to use the same email that you are using or will use in your Remotsy account.
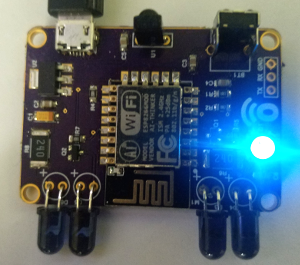
6.- Finally, save the Wi-Fi settings: if the REMOTSY board is connected to the Internet, the led will change to a light blue color. Wait for 30 seconds, and if the LED is still flashing in green, please press the reset button ONE time and wait for the blue light. If the light is still green, please repeat the process to set up the Wi-Fi settings.
7.- If the LED shows a light blue, then REMOTSY is ready.
Back to help index